Viewing mailbox dashboard
Mailbox dashboard presents an elaborate view of the mailbox and allows certain operations to be performed on it such as specifying its general information and defining its size.
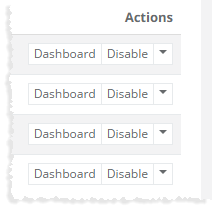
To view mailbox dashboard, click Dashboard under Actions column.
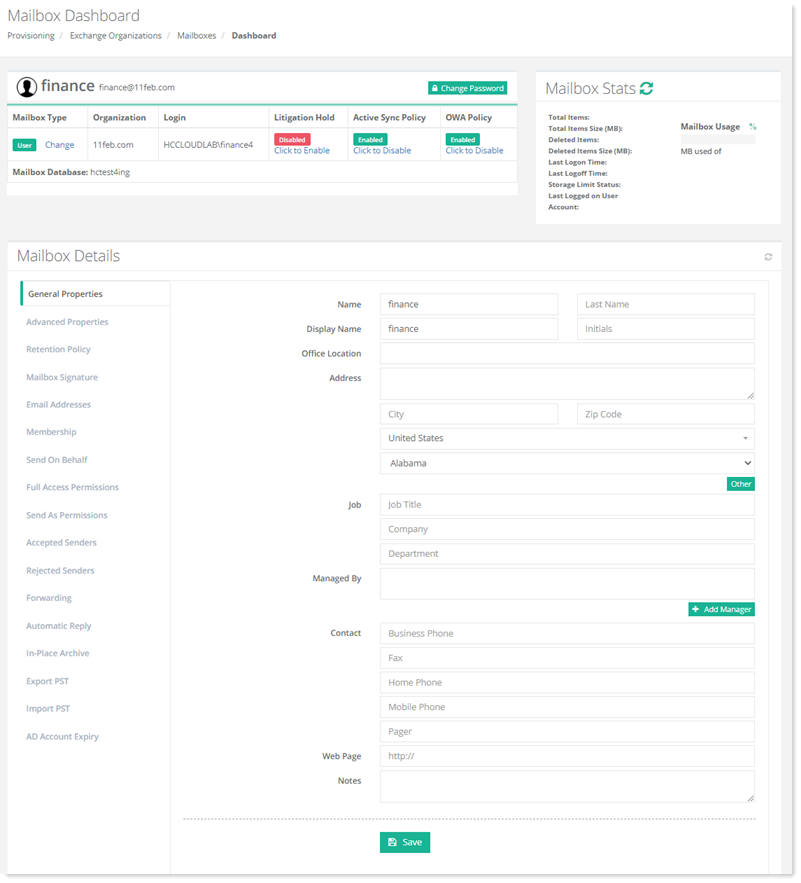
General Properties
To view/modify user related details, click General Properties.
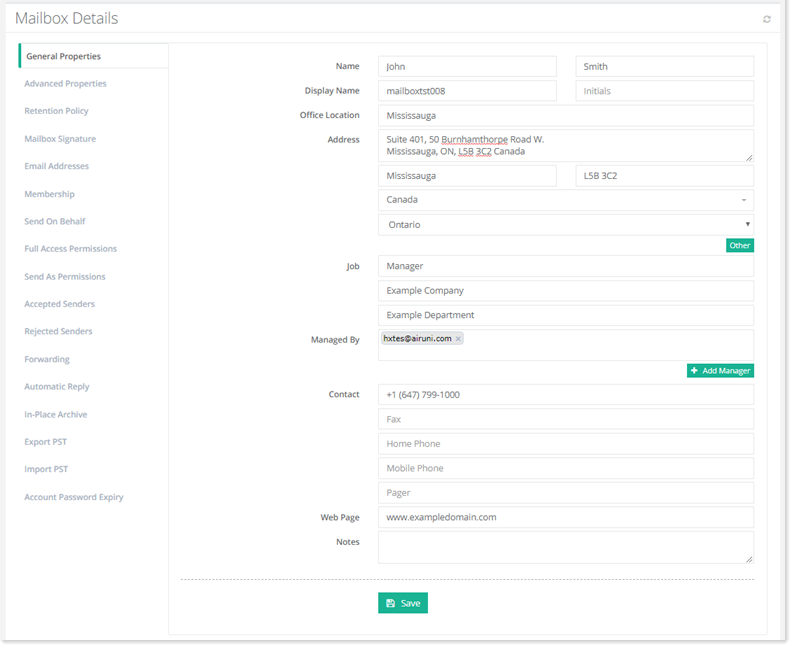
- Managed By: This is an Active Directory attribute that specifies the person who manages the user. The user reports to this manager.
If the Sync AD option is enabled against an Exchange organization from Configurations >> Exchange Module Configuration >> Sync Organizations at the Global Admin level, the General Properties will be shown as greyed out (disabled).
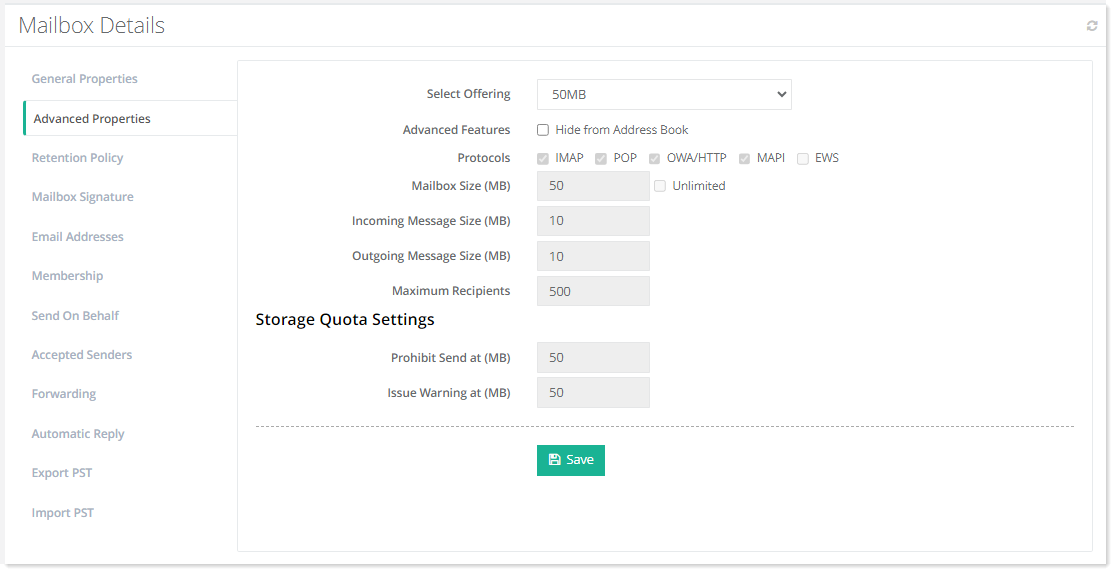
Advanced Properties
To view/modify storage related configurations, click Advanced Properties.
Retention Policy
To view/modify retention policy, click Retention Policy.
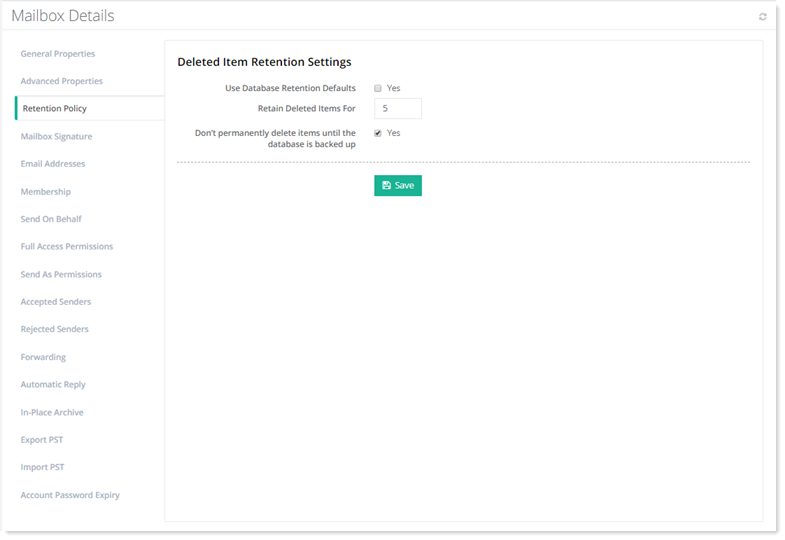
- Use Database Retention Defaults: Select Yes check box to use default settings for retention policy.
- Retain Deleted Items for: Type number of days for which deleted items are retained.
- Don't permanently delete items until the database is backed up: Select Yes to retain the deleted items till the database is backed up.
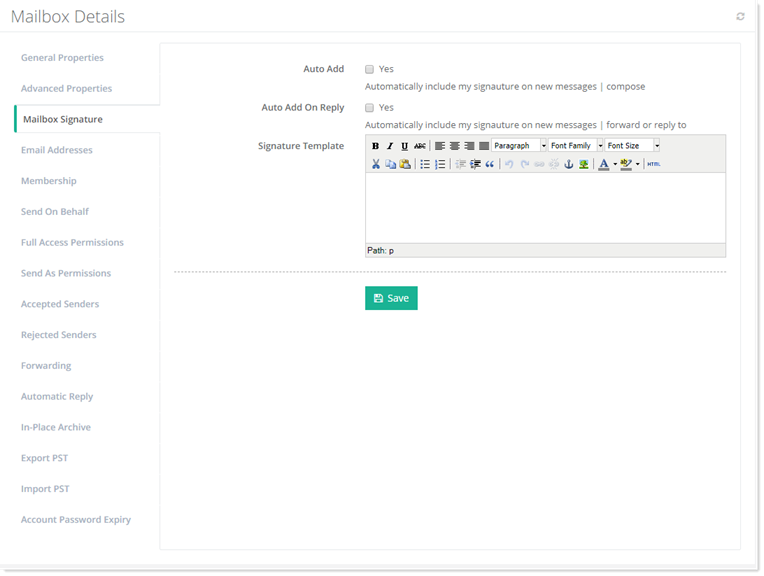
Mailbox Signature
To view/modify mailbox signature, click Mailbox Signature.
Email Addresses
Email aliases are additional email addresses for a primary email mailbox. Aliases use the same inbox, contact list, and account settings as the primary mailbox but have different names.
To view/add email addresses of the mailbox, click Email Addresses.
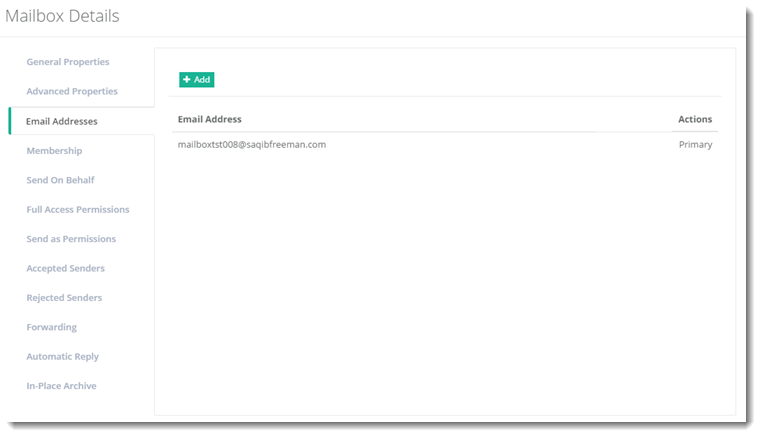
- Email Addresses: These specify aliases for the primary mailbox. More than one aliases can be added for any mailbox.
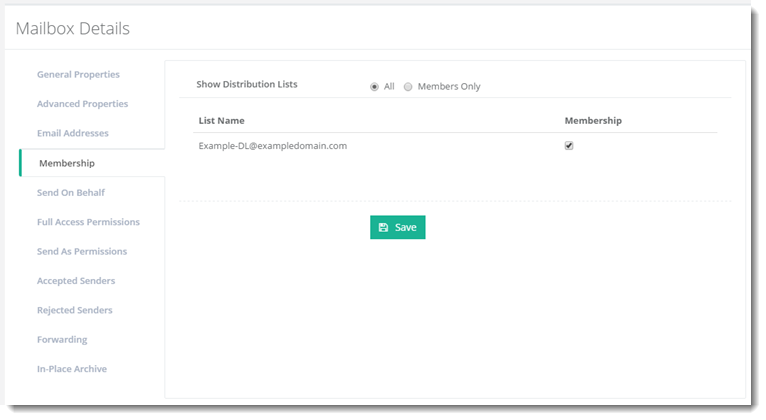
Membership
To view/modify members related information, click Membership.
Send On Behalf
A mailbox user can delegate someone else to send mail on its behalf. When the mailbox user enables Send on Behalf permissions for another user, the delegate can choose the mailbox user’s email address in the From field when composing a message in Outlook. However, message recipients will see both the mailbox user’s address and the delegate's address (as the actual author of the message).
To view/modify send on behalf information, click Send On Behalf.
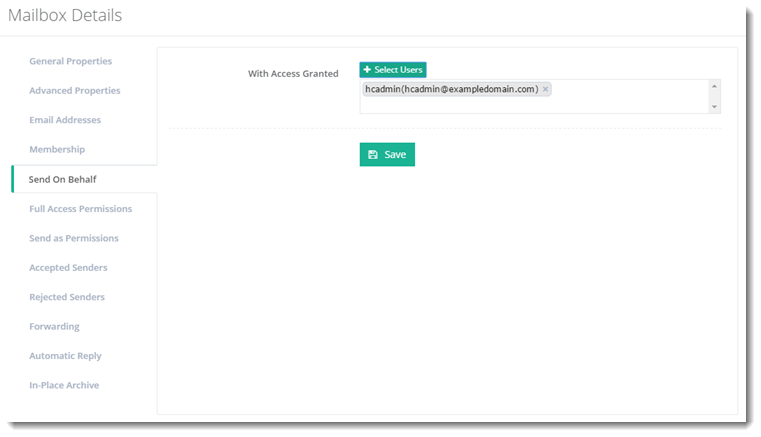
- Select Users: These are all the delegates that are to be granted Send on Behalf permissions for the primary mailbox.
The users that are assigned this permission on other mailboxes are called delegates.
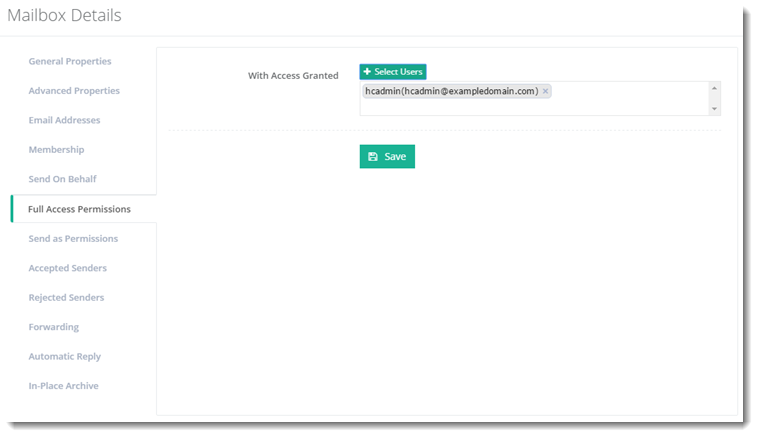
Full Access Permissions
To view/modify access related information, click Full Access Permissions.
Send As Permissions
Similarly, a mailbox user can delegate someone else to send mail as itself. However, in this case the recipients will have no idea that the message was sent by a delegate rather than the owner. The message will appear as if sent by the mailbox owner.
To view/modify send permissions, click Send As Permissions.
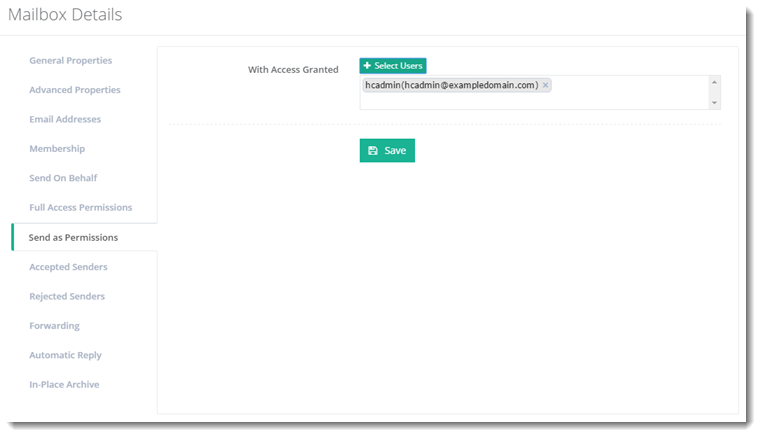
- Select Users: These are all the delegates that are to be granted Send As permissions for the primary mailbox.
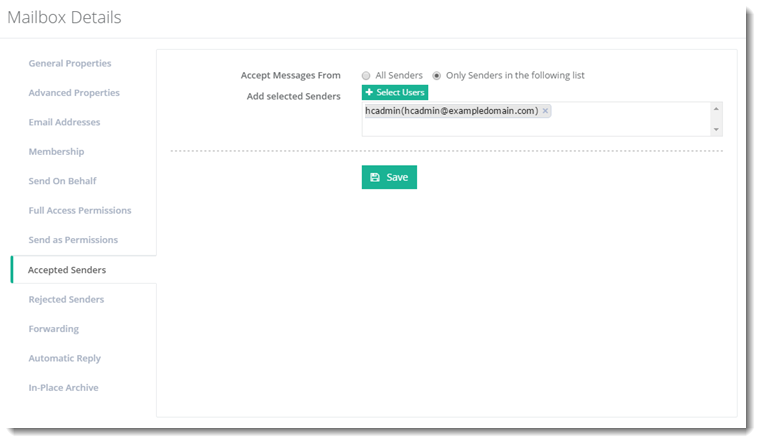
Accepted Senders
To view/modify accepted senders information, click Accepted Senders.
Rejected Senders
To view/modify rejected senders information, click Rejected Senders.
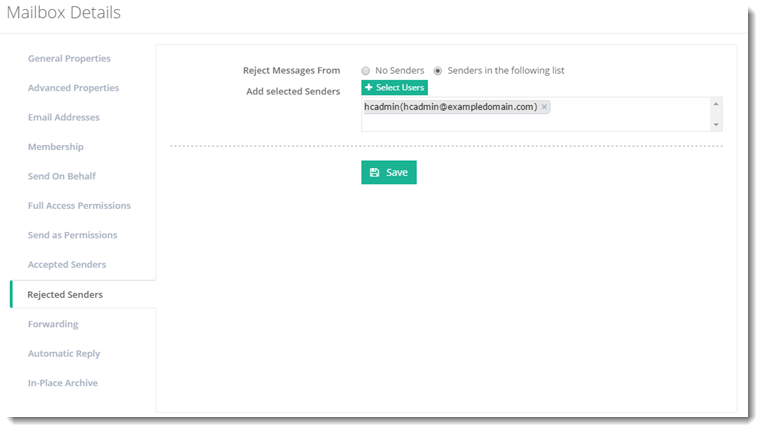
Select users and click Save to apply changes.
Forwarding
When an email message, sent to one user mailbox is forwarded to another user mailbox the process is known as forwarding. Messages can be forwarded to other user mailboxes inside or outside the organization.
To view/modify forwarding related information, click Forwarding.
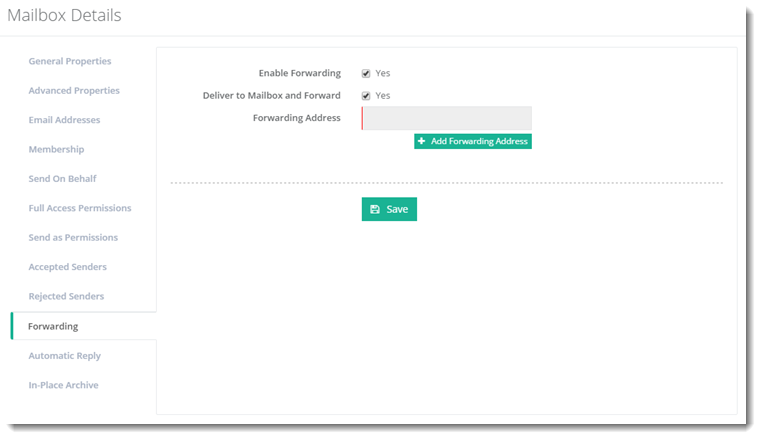
- Enable Forwarding: This enables the forwarding feature.
- Deliver to Mailbox and Forward: This option if enabled, delivers mail to both the mailbox as well as the forwarding address. The option should remain unchecked if the mail is to be delivered only to the forwarding address.
- Forwarding Address: Here all addresses, the mail is to be forwarded to, should be specified. Mail can be forwarded to user mailboxes, mail contacts, distribution lists and public folders. All organizations (O.U.) under the panel user will be visible while adding forwarding and all users under them can be chosen for forwarding.
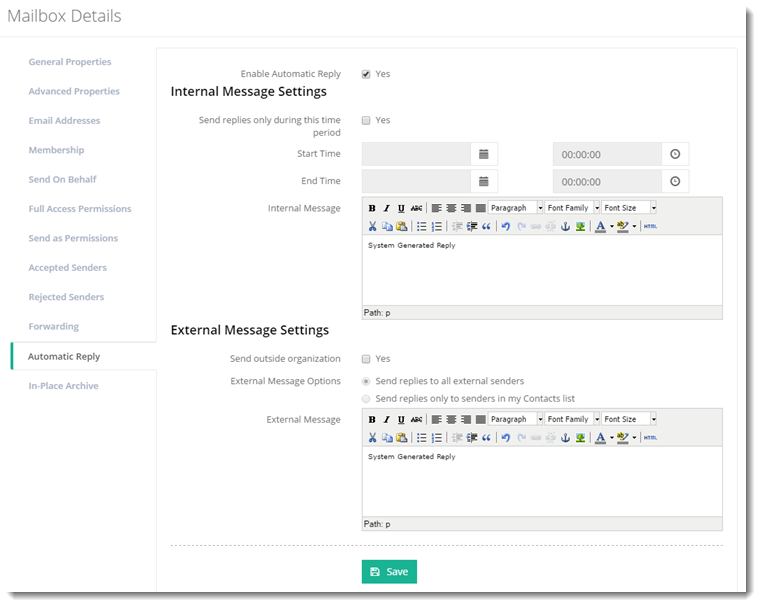
Automatic Reply
To view/modify automatic reply, click Automatic Reply.
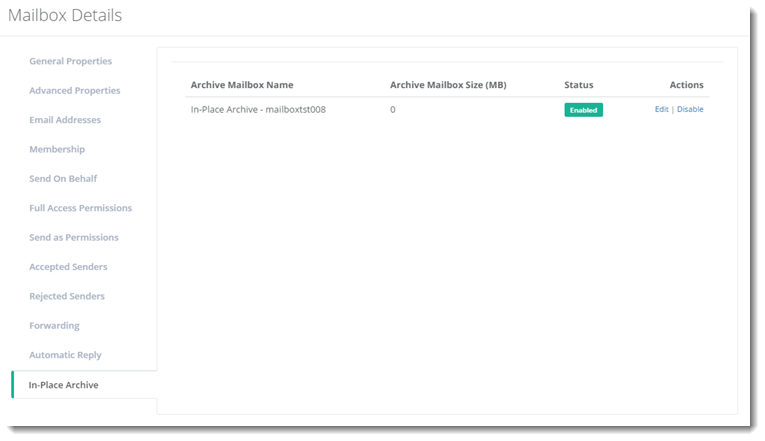
In-Place Archive
In-Place Archiving provides users with an alternate storage location in which to store historical messaging data. In Exchange an In-Place Archive is an additional mailbox called archive mailbox. This archive mailbox is enabled for a user’s primary mailbox and the user can easily move or copy messages to its archive mailbox.
To view/modify archive information, click In-Place Archive.
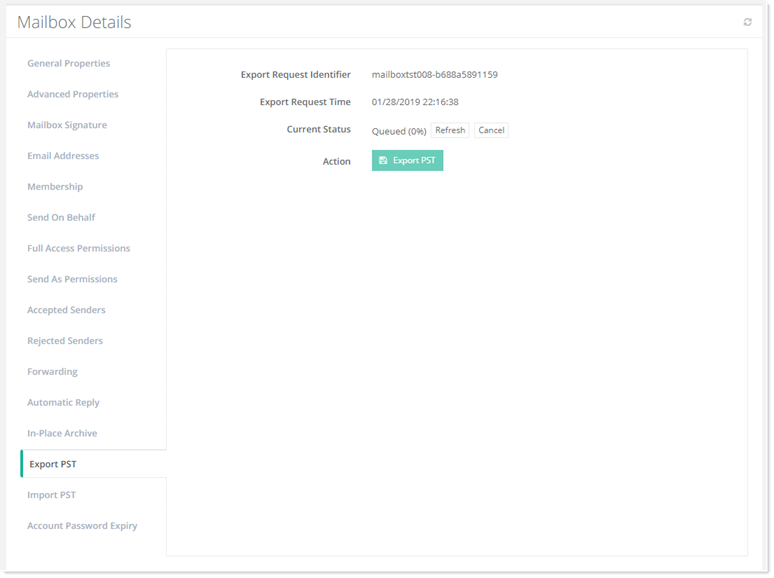
Export PST
To view/modify export settings, click Export PST.
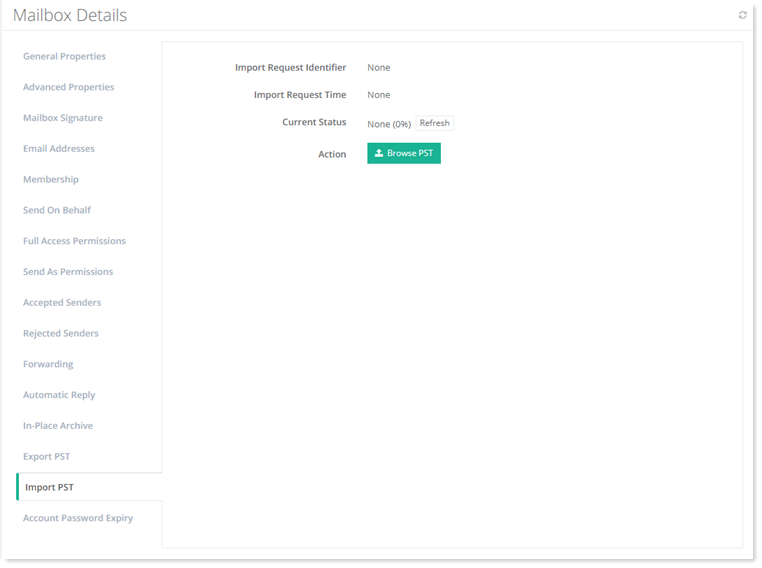
Import PST
To view/modify import settings, click Import PST.
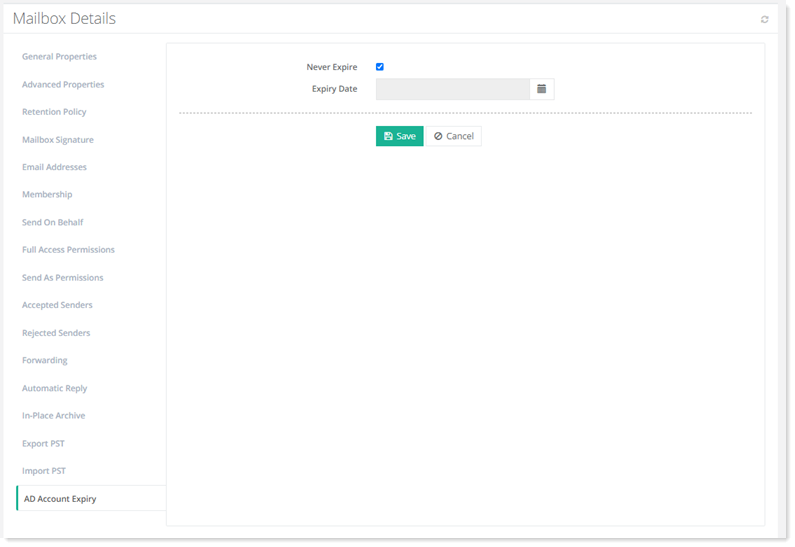
AD Account Expiry
Sometimes organizations need to set expiry for Active Directory accounts associated with mailboxes, especially if the accounts are tied to contracts with pre-arranged ending dates. In such cases accounts need to be disabled after a specific date. HC allows you to set individual Active Directory accounts to never expire or specify an expiry date for them. After the expiry date the user will no longer be able to logon, saving you the time to come back and manually disable the account.
To view/modify account password expiry settings, click AD Account Expiry.
Content Filtering
Content filtering evaluates incoming emails to determine if they are legitimate or spam, using characteristics from legitimate and spam samples. If content filtering has been enabled at the server level while Adding a Microsoft Exchange Server, it will be visible on the mailbox dashboard and can be customized further.
To customize the settings for content filtering, click Content Filtering.
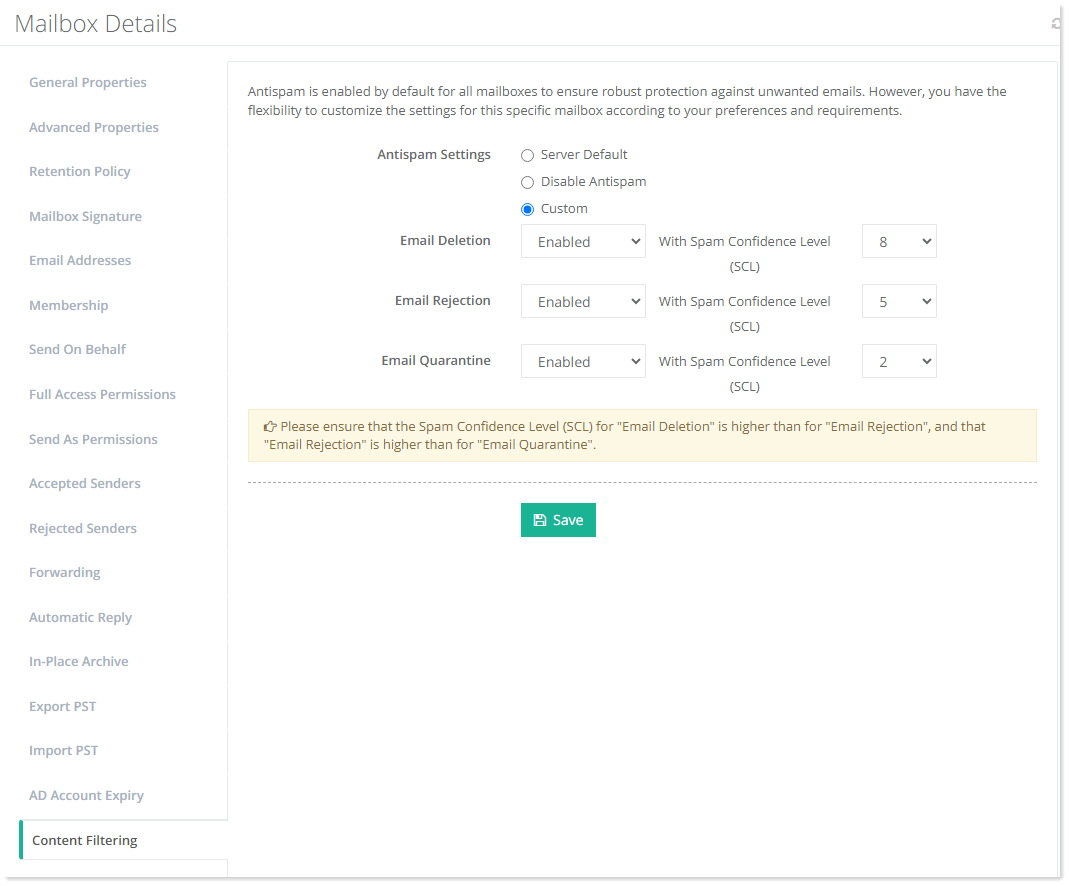
- Server Default: This setting is the default setting for content filtering (antispam). This means that the Spam Confidence Level (SCL) threshold set at the server level will be applied by default to this mailbox.
By default, all mailboxes will adopt the Spam Confidence Level (SCL) threshold set at the server level. - Disable Antispam: Even if content filtering is enabled at the server level, this option ensures that it remains disabled for this mailbox. In other words, antispam protection will completely bypass this specific mailbox.
- Custom: You may also customize the antispam settings for the mailbox. The content filter agent in Exchange assigns a spam confidence level (SCL) to each message by giving it a rating between 0 and 9. A higher number indicates that a message is more likely to be spam. Based on this rating, you can configure the agent to take the following actions:
- Email Deletion: The email message is silently dropped without a non-delivery report (an NDR, delivery status notification, or bounce message).
- Email Rejection: The email message is rejected with an NDR.
- Email Quarantine: The message is sent to the spam quarantine mailbox.
Ensure that the Spam Confidence Level (SCL) for "Email Deletion" is higher than for "Email Rejection", and that "Email Rejection" is higher than for "Email Quarantine".