The Received Messages page is displayed.
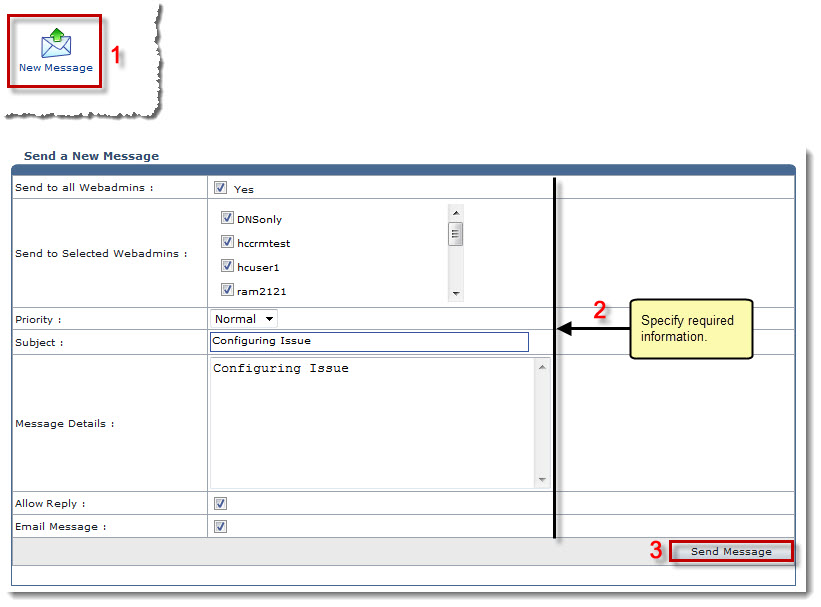
The New Message page is displayed.
- Send to All Webadmins: Select Yes check box to send email to all the webadmins.
- Send to Selected Webadmins: Select required webadmins to send email to.
- Priority: Select priority from the drop-down list box.
Available options for Priority are: 
High Normal Low - Subject: Type subject of the message.
- Message Details: Type the message.
- Allow Reply: Select the check box to enable response to this message.
- Email Message: Select the check box to email this message to you.
The Message is sent.