A drop-down displays.
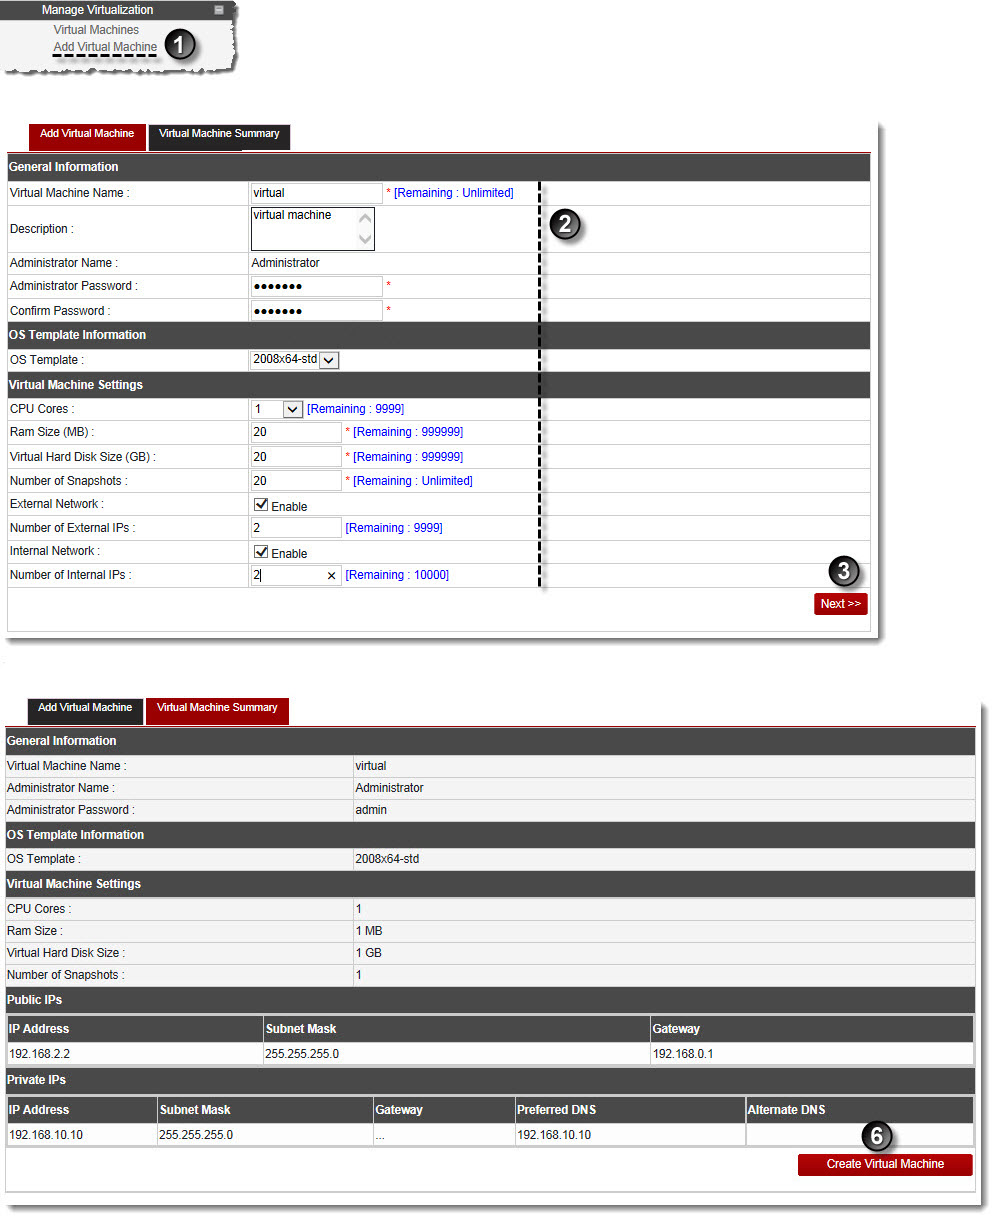
The Add Virtual Machine page displays.
- Virtual Machine Name: Type name of the machine to be created.
- Description: Type brief description of the machine.

Administrator Name: It shows name of the machine administrator. - Administrator Password: Type password for the machine administrator.
- Confirm Password: Re-type password for the machine.
- OS Template: Select an OS template for the machine from the drop-down list box.
- CPU Cores: Select number of CPU cores to allocate to the machine from the drop-down list box.
- RAM Size: Type the size of the RAM.
- Virtual Hard Disk Size: Type the size of the Hard Disk.
- Number of Snapshots: Type number of snapshots to be added for the machine.
- External Network: Select to enable the external network.
- Number of External IPs: Type number of external IPs to be added for the machine.
- Internal Network: Select to enable the internal network.
- Number of Internal IPs: Type number of internal IPs to be added for the machine.
The Virtual Machine Summary page is displayed.
|
Virtual Machine Summary: This page shows detailed information of the machine being created. |
The Virtual Machine is added.