A drop-down displays.
The Exchange Enabled Organizations page displays.
The Resource Mailboxes page displays.
The Edit General Properties page displays.
The Delegates page displays.
 |
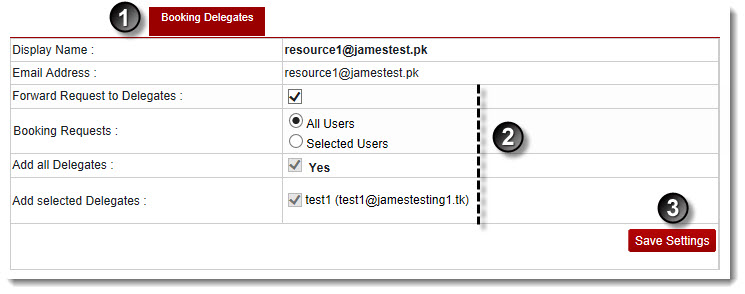
The Display Name shows the name of the user. |
| |
The Email Address shows the email ID of the user. |
- Forward request to delegates: Select the check box to send requests to delegates.
- Booking requests: Select All Users to send booking requests to every one. Otherwise select Selected Users.
- Add all delegates: Select the Yes check box to include all delegates.
- Add Selected delegates: Select delegates as required.
The Booking Delegates Settings is modified.