Home > Guides > Installation Guide for Windows > Steps to Follow (for installation)
Steps to Follow (for installation)
 |
Installation can be cancelled at any time. To abort installation, click Cancel. At any step, to navigate to previous screens, click Back. |
To install HC9:
- Run HC9.exe.
A Welcome screen is displayed.
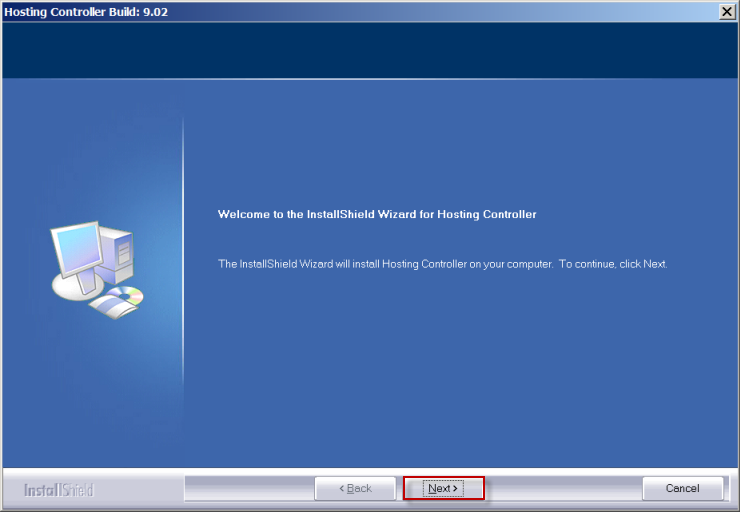
- Click Next.
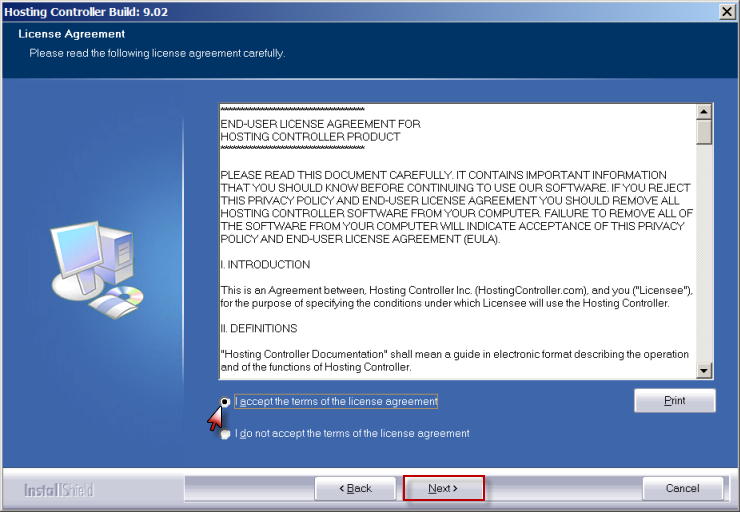
A License Agreement is displayed.
|
- Read the license agreement carefully. If you do not agree with any of the conditions stated in the license agreement, click I do not accept the terms of the license agreement. It cancels the setup.
- You can also print this agreement, if required. To print the license agreement click Print.
|
- Click I accept the terms of the license agreement and then Next.
The Customer Information screen is displayed.
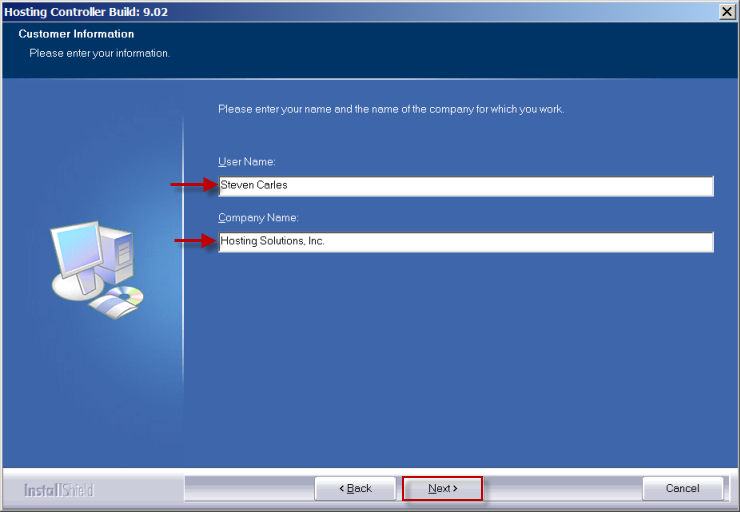
- Specify the following information:
- User Name: Type name of the user.
- Company Name: Type name of the company.
- Click Next.
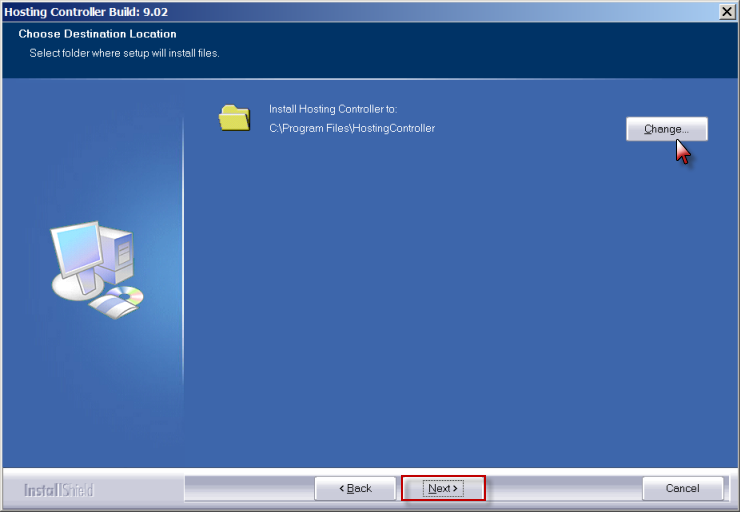
The Destination Location screen is displayed.
| |
Click Change, to enter location where you want to install [HC9]. |
- Click Next.
The Installation Type screen is displayed.
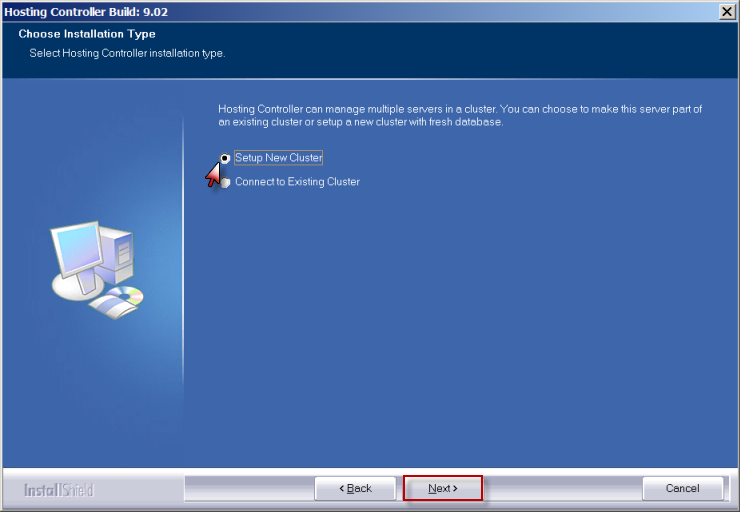
- Select type of installation.
| Specify whether this server is going to be your first server in the cluster or it is a part of an existing cluster. The available options are: |
 |
Setup New Cluster: Select to make this server a first server in the cluster. First server in the cluster must be a database server where installer will create HC9 database. (In case of this option, go to step 10) |
|
Connect to Existing Cluster: Select to make this server a part of an existing cluster. If you select this option then installer asks for database server in the cluster. (In case of this option, go to step 12) |
- Click Next.
The Database Creation Type or Database Configuration screen is displayed (depending on the selection).
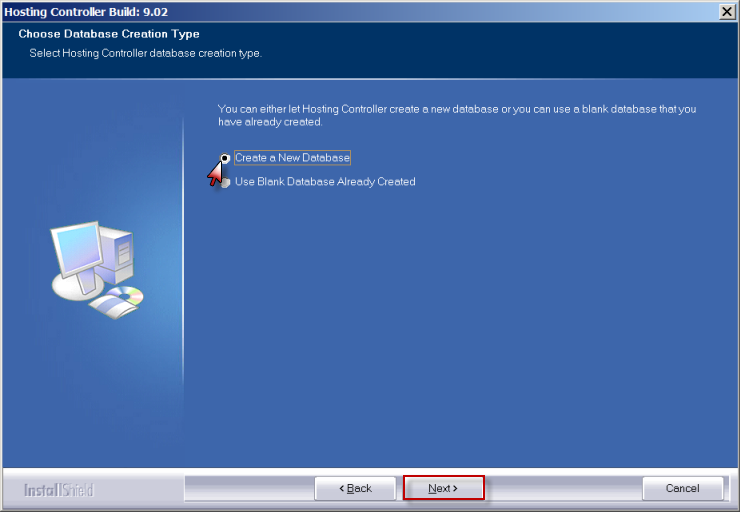
- Select type of database creation.
| Specify whether you want to create a new empty database or want to use a blank database that you have already created. The available options are: |
| |
Create a New Database: Select to create an empty database to setup a new cluster. |
| |
Use Blank Database Already Created: Select, if you have already created a blank database to setup a new cluster. The installer restores blank database on it. |
- Click Next.
The Database Configuration screen is displayed.

- Specify the following information:
- Server: Type name of the server.
- IP: Type IP address of the server.
- Database: Type name of the database.
|
Most of the values are pre-populated and it is recommended not to change any of these values. |
- Click Next.
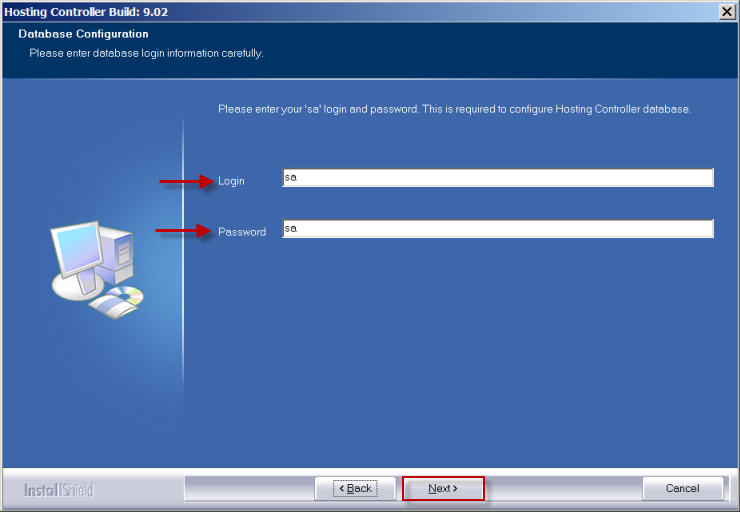
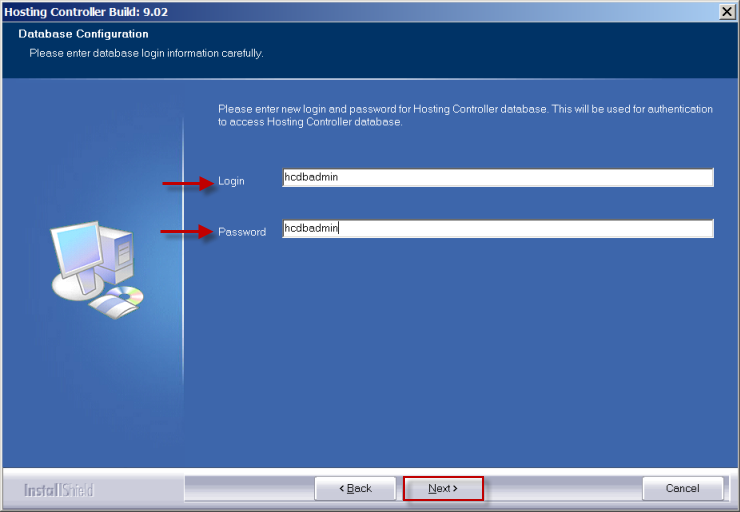
The Database Configuration screen is displayed.
|
If you have selected Create a New Database option in step 8 then the Database Configuration screen asks for details that are required to configure HC9 database. Otherwise, it asks for details that are required for authentication to access HC9 database. |
- Specify the following information.
- Login: Type login name.
- Password: Type password.
- Click Next.
The Host Admin Information screen is displayed.

- Specify for Host Administrator account as:
- User Name: Type user name of the host administrator.
- Password: Type password of the host administrator.
- Click Next.
The Select Program Folder screen is displayed.
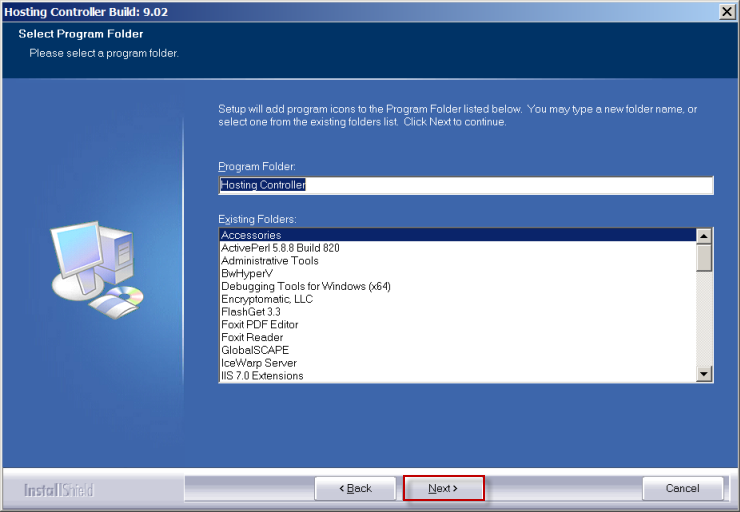
- In the Program Folder field, type name of folder.
| |
This folder name is used by HC9 to create startup links in the Start menu. |
- Click Next.
The Start Copying Files screen is displayed.
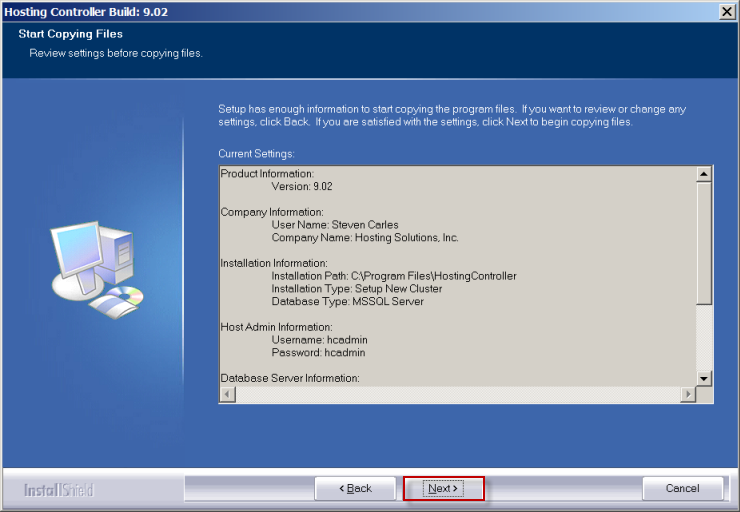
- Review the specified settings and click Next.
HC9 is installed.
| |
- HC9 installs seven important services. Make sure these services are running. For more information, please refer to Knowledgebase.
- Make sure that Microsoft .NET Framework is installed. The minimum .NET Framework version required for HC9 is 2.0.
- Make sure that you have Internet Explorer 6 with Service Pack 1 on the server otherwise unexpected HC9 behavior may occur. You may download this fromhttp://microsoft.com/windows/ie/downloads/critical/ie6sp1/default.asp.
|