Home > Webadmin Manual > Hosting Services > Manage DNS > Adding a DNS Zone
Adding a DNS Zone
To add a DNS zone:
- Log on to hc9 panel.
- From the left menu click Hosting Services, and then Manage DNS.
A drop-down displays.
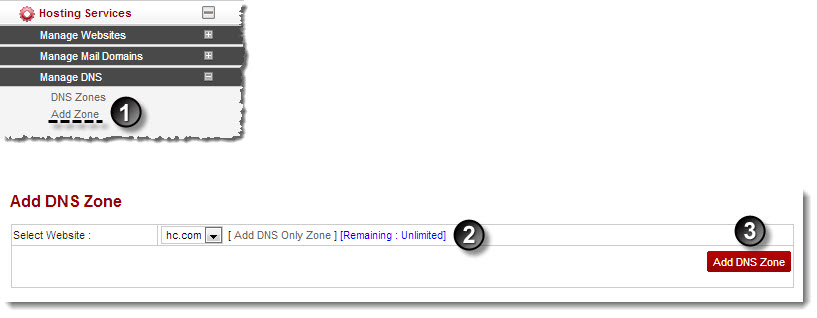
- Click Add Zone.
The Add DNS Zone page displays.
- Specify the following information:
- Select Website: Select website from the drop-down list box.
- Click Add DNS Zone.
The DNS Zone is added.

|
To add only DNS zone:
- Click Add DNS Only Zone.
- Specify following information:
- Domain Name: Type name of the domain.
- Web Server IP: Type IP address of the web server.
- Website Type: Select the type of website.
- Select Zone Owner: Select the owner for the zone from the drop-down list box (In case of new user, specify user information by clicking Next.)
- Click Add DNS Zone.
|
See also