| Product Documentation
AD Connect Sync
Configuring HC Directory Synchronization
To configure HCdirSync: Run HCdirSyncConf.exe on your domain controller. The installer will run this utility at the end of installation. You can run this configuration utility anytime you want to change the configurations of HCdirSync.
** For Windows: In Windows start menu double click on HCdirSync Configuration icon to open configuration console.
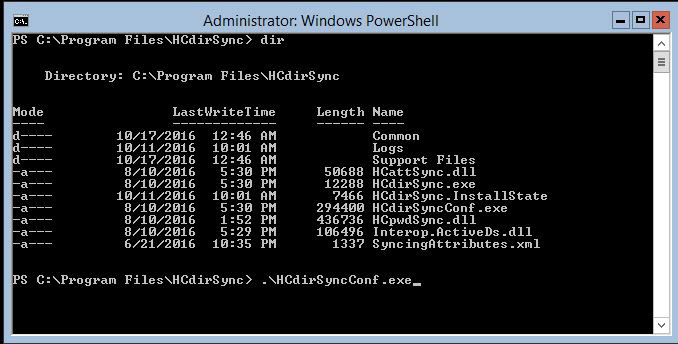
** For Windows Core Edition: Open Windows PowerShell and navigate to path C:\Program Files\HCdirSync and execute commandHCdirSyncConf.exe.
- Local Ad Settings
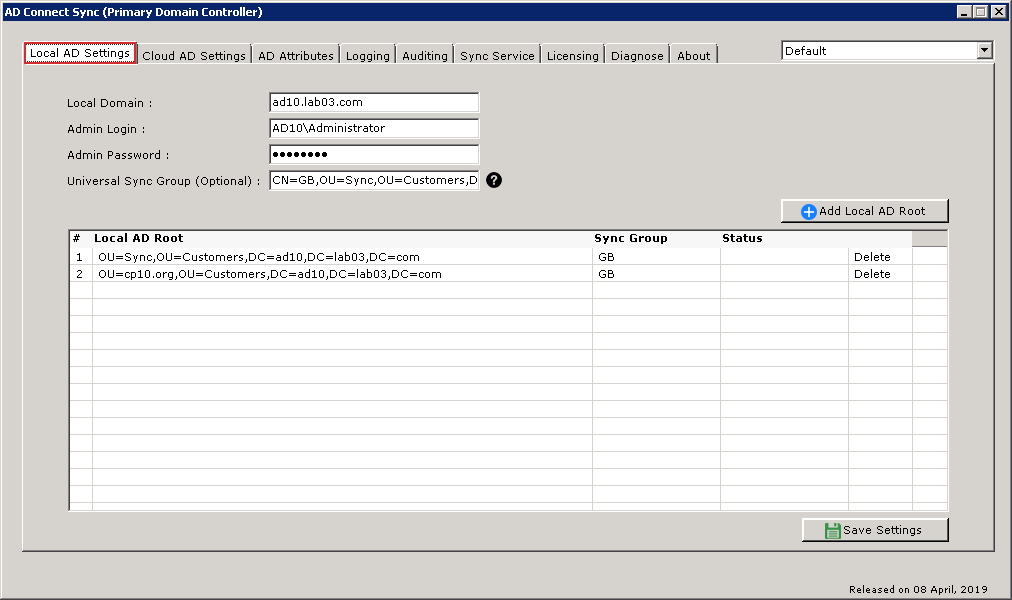
Admin Login: Provide the local domain administrator username to access the local Active Directory, such as "DC\administrator".
Admin Password: The password of your local Active Directory administrator account.
Local Domain: Provide here the local domain name and make sure you are able to access it. You can also provide IP address of your domain controller.
Add Local AD Root: This is the root of your local Active Directory to be synchronized with your cloud Active Directory. Click on "Add Local AD Root" and select the organization unit from Active Directory Browser. e.g. If you want to synchronize MyTestOrg.com then select this OU from the Active Directory Browser.
Repeat "Add Local AD Root" option if you want to add more than one organization units to be synchronized with cloud Active Directory.
Once you have added the required OU then click "Save Settings" button.
Sync Group: This group will automatically added in organization unit once you add the local Active Directory root. The format will be like "domain.com_Sync". Any user/group located under the same OU if its member of this Sync group, they will be synchronized with the cloud Active Directory. Those users which you do not want to synchronize with cloud Active Directory, DO NOT make it member of this Sync group. - Cloud AD Settings
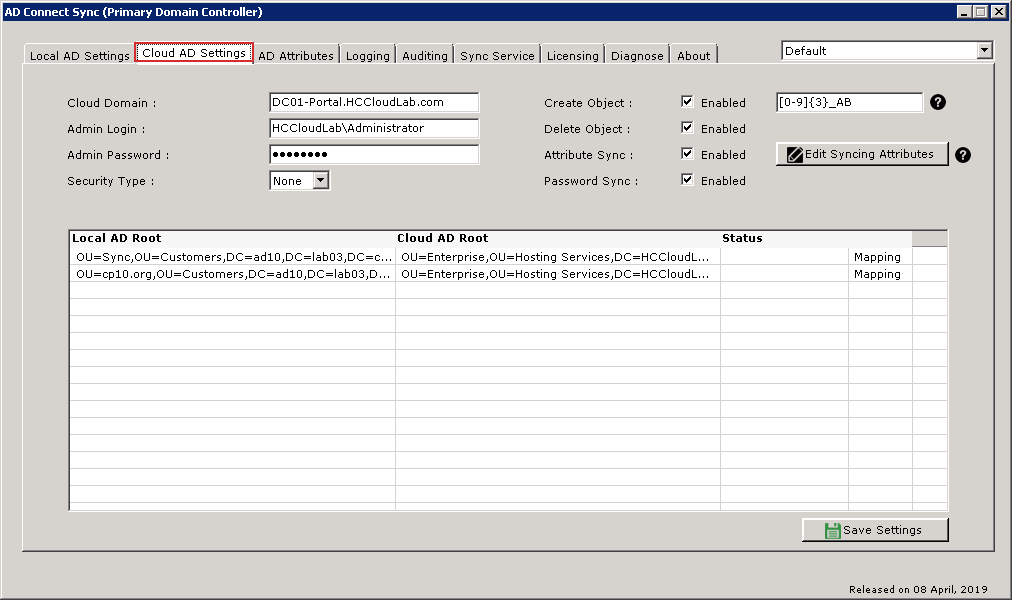
Admin Login: Provide the username to access the cloud Active Directory, such as "CLOUD-DC\user". This username will be provided by your cloud Host.
Admin Password: The password of your cloud Active Directory username.
Cloud Domain: Provide here the Cloud domain name and make sure you are able to access it. This information will be provided by your cloud Host. To make it work with SSL its essential that you provide a domain name and not an IP.
Security Type: Select any option as required from the drop-down list. if your cloud Host requires the Cloud Active Directory to be accessed over SSL.** None - no subsequent action is taken.
** SLS - if selected, your cloud Host required the Cloud Active Directory to be accessed over SSL.
** TLS - if selected, your cloud Host required the Cloud Active Directory to be accessed over TLS.To use the SSL option you will need to install the AD Certificate Service on the Cloud AD and export its certificate. The exported certificate then needs to be added in Certificate Store (Personal/Trusted Root Certification Authorities) of the client AD.User Suffix: If you want to append a suffix to every user created on the target Active Directory, specify its regular expression here. Users will be created with this expression (e.g. 0-9, {3}_abcd) as a suffix.
Edit Syncing Attributes: These are the attributes to be synchronized. You may edit them through an XML file. Clicking the button opens an XML file containing all the attributes to be synchronized. You may edit the file to specify specific attributes that should sync.
Cloud AD Root: This is the root of your cloud Active Directory which will be synchronized with your local Active Directory. This will be provided by your cloud Host. To insert the value, click on the field right under Cloud AD Root.Once you have added the required OU then click "Save Settings" button.
- AD Attributes
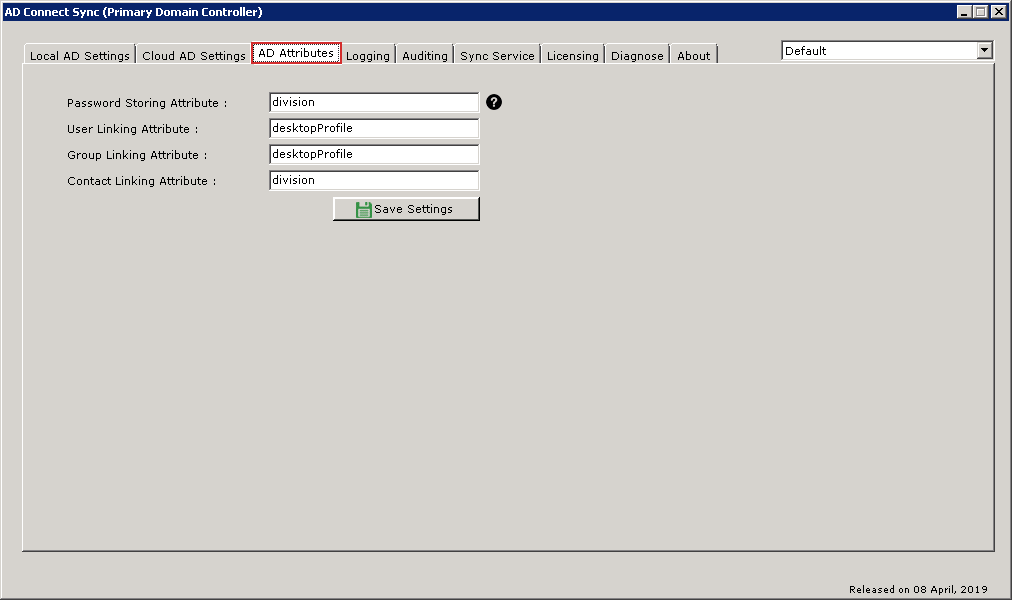
HCdirSync requires following Active Directory attributes to hold some information required for synchronization. It is NOT recommended to change these values once synchronization operation has started.
Attribute 1: This attribute holds users password locally in encrypted format.
Attribute 2: This attribute holds users link with cloud Active Directory.
Attribute 3: This attribute holds groups link with cloud Active Directory.
Attribute 4: This attribute holds contacts link with cloud Active Directory.These are default attributes in Active Directory. In case your cloud Host has changed these attributes then confirm with them before making any changes.
- Logging
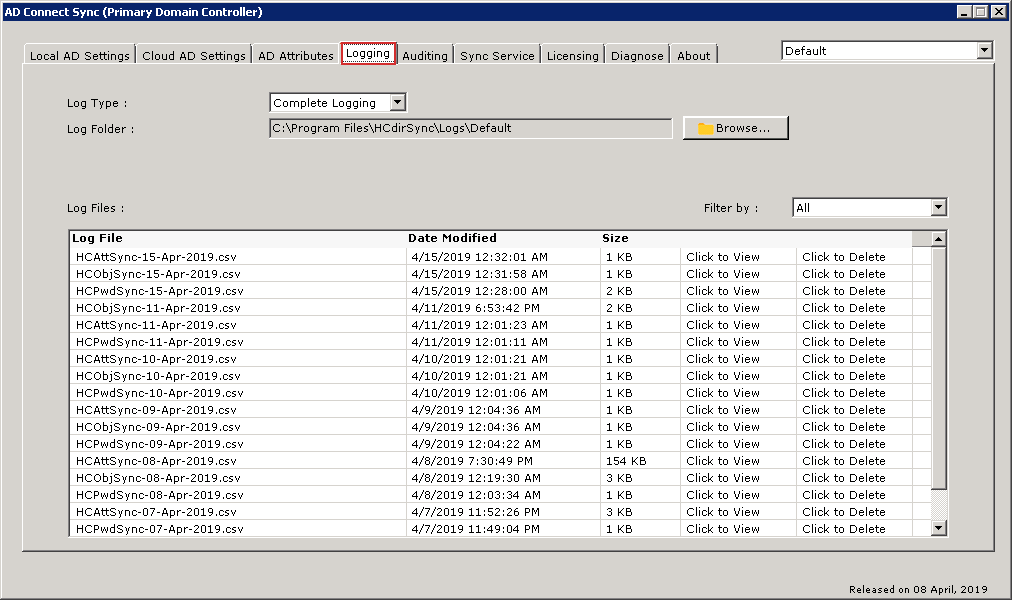
Log Type: The possible options are Error Logging, Success Logging and Complete Logging.
Complete Logging: It will log all activities performed by HCdirSync.
Success Logging: It will log success events only.
Error Logging: It will log error events only.
Log Folder: Select the folder were HCdirSync will create the log file. It will generate one log file per day.Note: The log file format is only available in CSV. - Auditing
- Syn Service
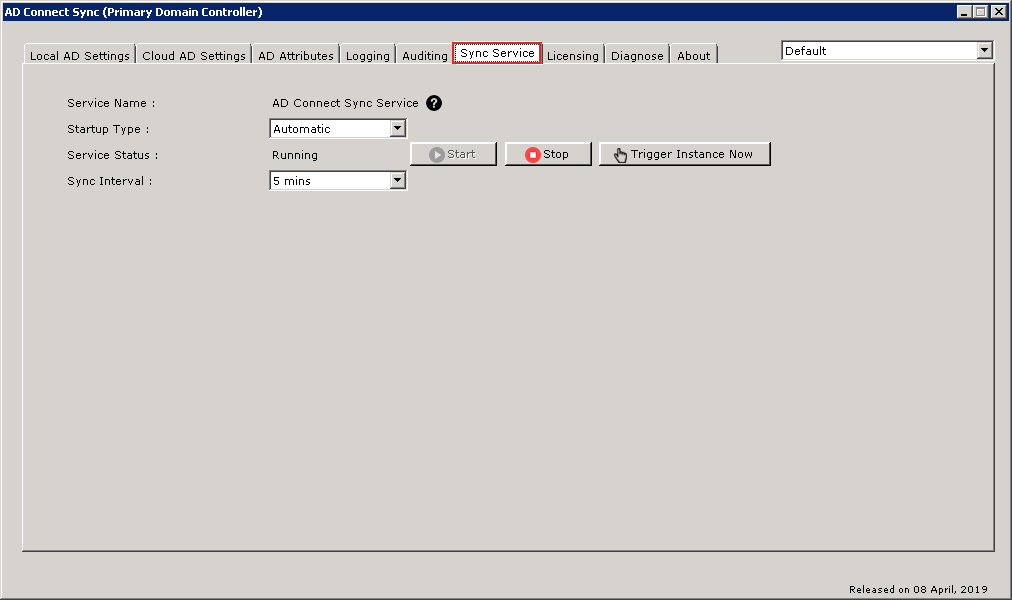
Startup Type: Select the appropriate service startup type. In order to synchronize users between local and cloud Active Directories, make sure the service "HCdirSync" is running with startup type set as Automatic.
Sync Interval: Select the appropriate interval to perform the automatic synchronization between local and cloud Active Directories.
Object Create Sync: If enabled allows the creation of respective Cloud AD objects against objects created locally in the Local AD.
Object Delete Sync: If enabled allows the deletion of respective Cloud AD objects against objects deleted from the Local AD.
Object Attribute Sync: If enabled allows object attributes to be synchronized across from Local AD to Cloud AD.
Password Sync: If enabled allows user passwords to be synchronized across from Local AD to Cloud AD.
Edit Syncing Attributes: Displays a file containing the list of attributes to be synchronized by the utility. Attributes can be added/removed from the list. - Restart the server
- Licensing
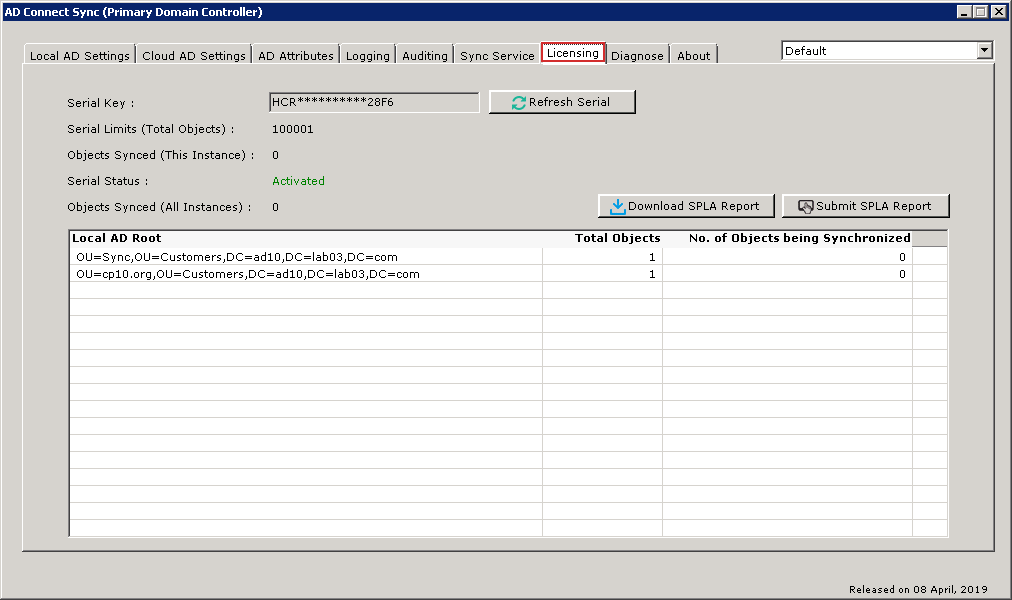
Serial Key: License key for the utility.
Download SPLA Report: Customers can report usage every month and be charged on the basis of this actual usage. All SPLA customers can download an SPLA report in CSV format, indicating the actual number of objects synchronized.
Submit SPLA Report: Customers can submit a report directly to spla@hostingcontroller.com. - Diagnose
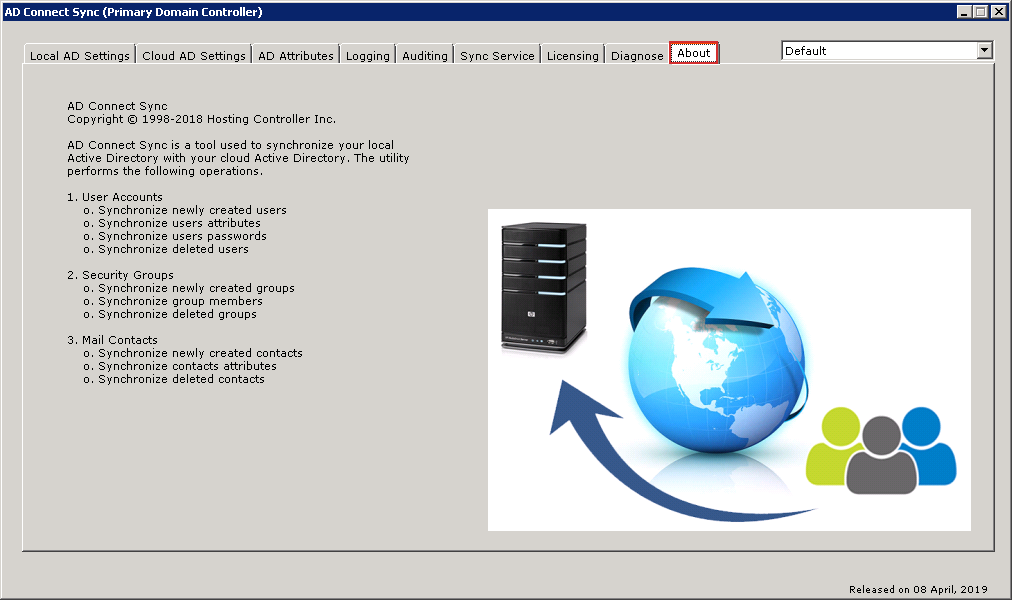
- About