A drop-down displays.
The Ad-Ons page displays.
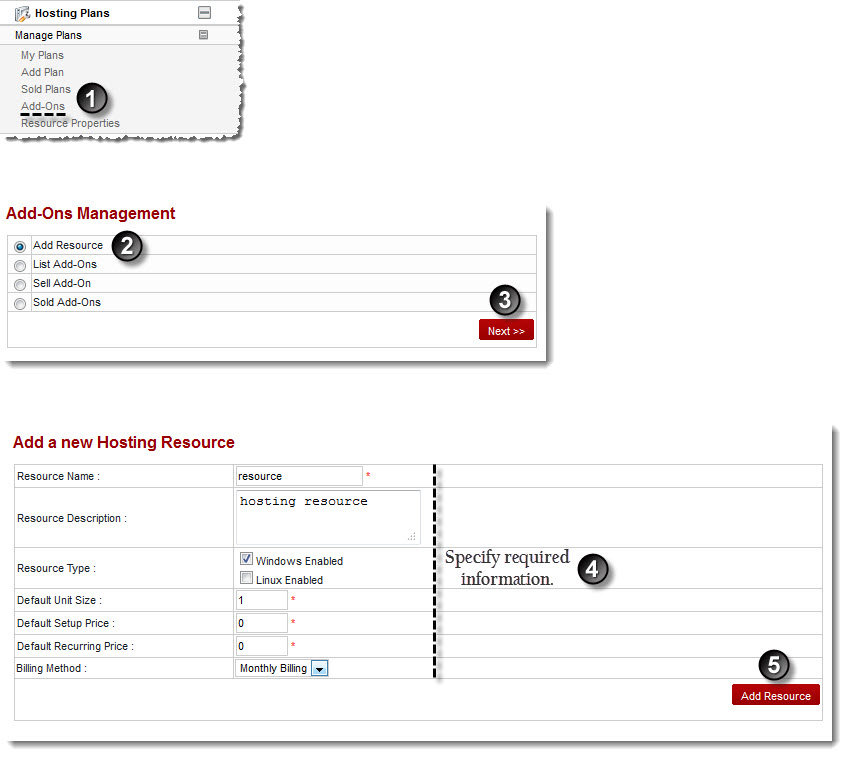
The Add Resource page displays.
- Resource Name: Type name of the resource.
- Resource Description: Type brief description of the resource.
- Resource Type: Select Windows Enabled/Linux Enabled checkbox to specify type of the resource.
- Default Unit Size: Type default size of the unit.
- Default Setup Price: Type default price of the setup.
- Default Recurring Price: Type default recurring price.

Recurring price is a cost that users have to pay repeatedly such as monthly utility bills.Therefore, the amount you want your users to pay each month is a Recurring price. - Billing Method: Select the method of billing from the drop-down list box.
The available options for Billing Method are: 
Monthly Billing
Bill with Plan
The new resource is added.