| Product Documentation
Mail Data Migrator
Installation Guide
The section is intended for all those who are in anyway related with the installation and configuration process of Mail Data Migrator.
For a quick and smooth installation, download the installer and follow all the steps as stated. Prior to installing Mail Data Migrator, view the pre-requisites and system requirements.
Steps to Follow
Follow the steps as stated to install Mail Data Migrator.
- Place the installer at a suitable location (directory).

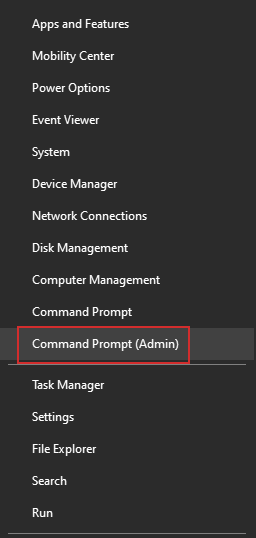
- We strongly recommend running the Mail Data Migrator installer as administrator via command prompt only. To run as administrator, right click the start icon and select "Command Prompt (Admin)".
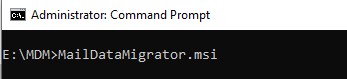
- In the Command Prompt, navigate to the directory that the install file is located in and run the installer.
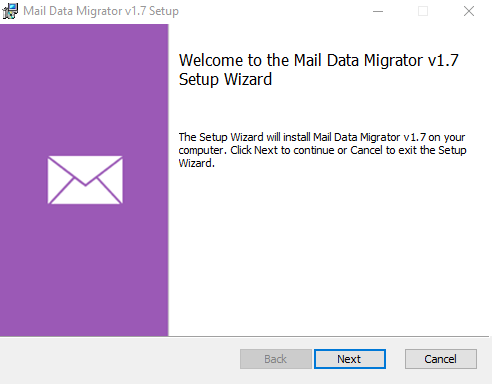
- After running the installer, an installation wizard is shown. Click Next to proceed.
- Specify Destination Folder to install Mail Data Migrator and click Next to proceed.
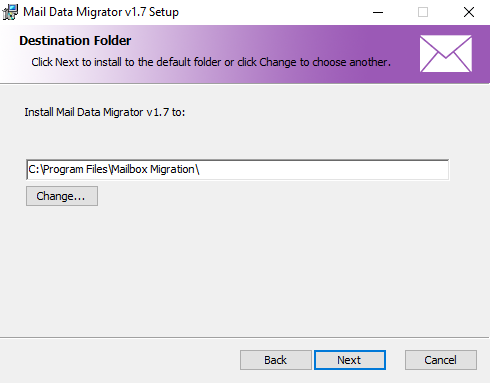
- Specify Super Admin User and click Next to proceed.
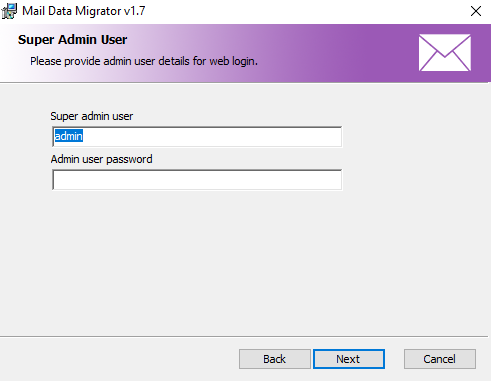
- Click Install to proceed.
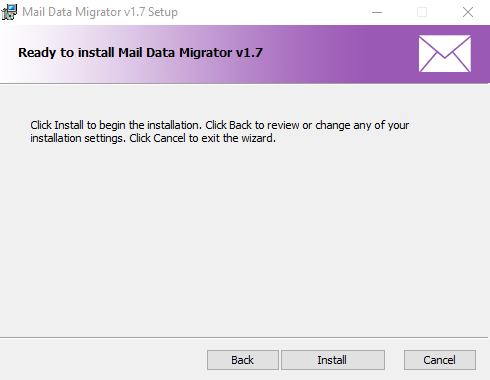
- Click Finish to complete the installation process.
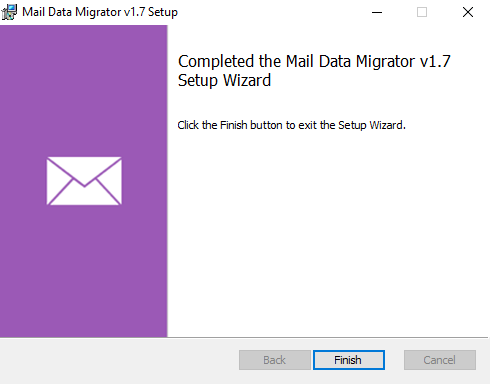
Mail Data Migrator Wesbite
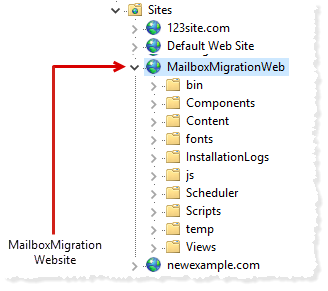
A successful install of Mail Data Migrator creates an admin site in IIS. The admin site serves as a portal for the admin users to login to their respective management interfaces and administer their migrations. The default port for the site is 1122 but it may be altered if required. The complete URL formed for the site therefore may look something like http://yourdomain.com:1122.
Installation Path
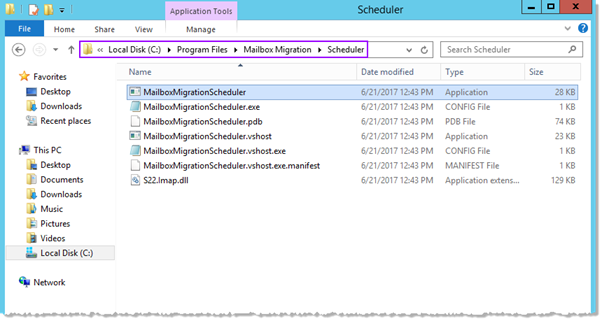
Mail Data Migrator installs at C:\Program Files\Mailbox Migration\Scheduler. The path carries an .exe for sync (MailboxMigrationScheduler). By default it runs every 6 hours to sync mailbox data from source to target server. However this time interval may be altered, if required.