
| Product Documentation
Mail Data Migrator
Adding a Mailbox
Mailboxes of respective mail domains can be migrated across different messaging platforms with Mail Data Migrator. Mailboxes should be added to mail domains before migration. Only after they are added and verified, the syncing process can initiate.
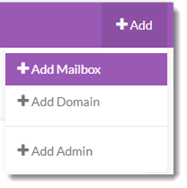
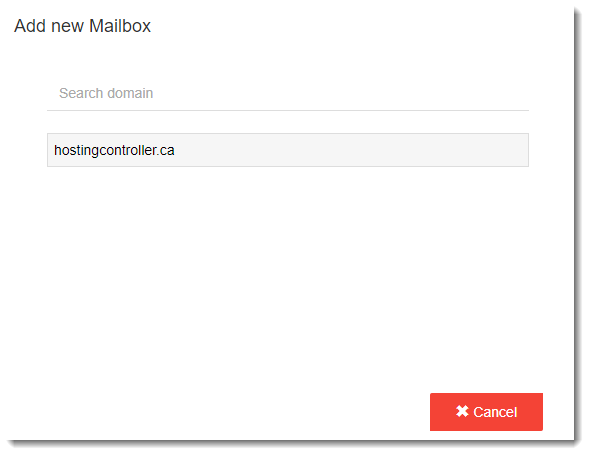
To add a mailbox, click +Add from the top menu and then +Add Mailbox. Select the affiliated mail domain from the listed domains. To add a single mailbox, specify required details to proceed. In case of adding bulk mailboxes, click Choose File and type/select path of CSV file to proceed.
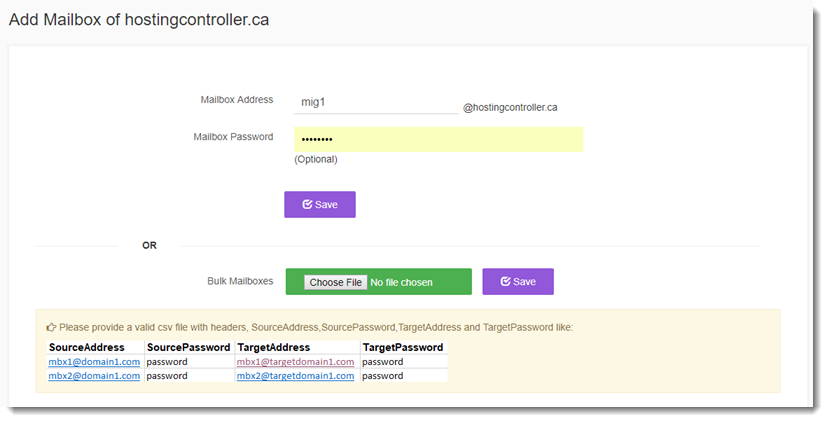
- Mailbox Password: Source Mailbox passwords are required to be inserted in this field. Corporate policy in some organizations permits the email administrators to be aware of all work email account passwords while in others passwords are considered something private without the admins having any knowledge of them. Mail Data Migrator caters to both scenarios and handles migration both with our without the admins having knowledge of passwords. For this reason alone Mail Data Migrator makes the input of passwords optional during the creation of Mailboxes.
Use Case 1: Available Passwords
If the Super Admins or Project Admins are aware of the source user Mailbox passwords, they may simply insert them while adding Mailboxes. If the password is correct, they would be directed to another screen for target Mailbox verification. If the password is incorrect, Mail Data Migrator will throw an error.
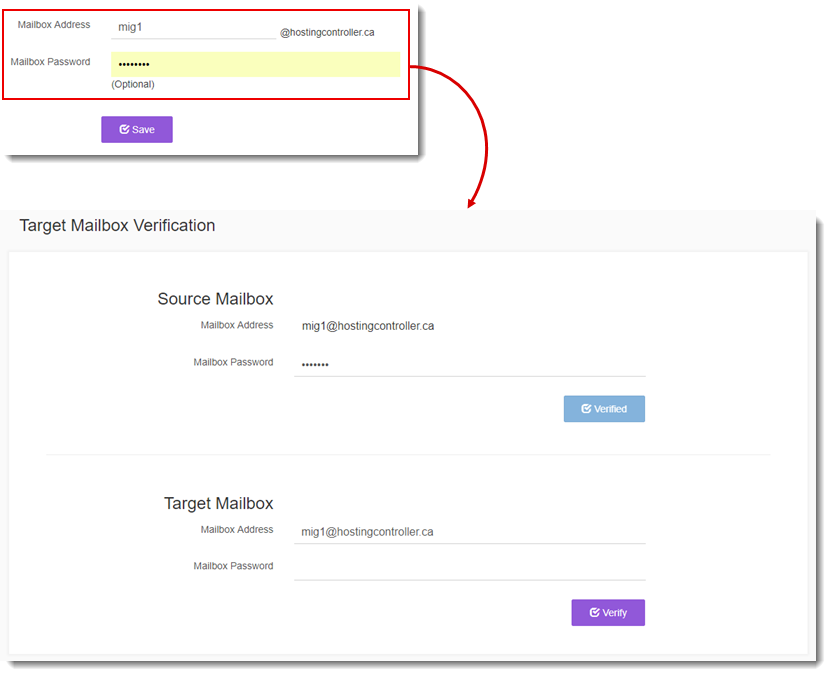
Use Case 2: Unavailable Passwords
If for some reason the Super Admins or Project Admins are not aware of the user Mailbox passwords, Mail Data Migrator has a unique way to handle such migrations. There is an elaborate verification mechanism in place, if the passwords are not available. For details refer to the verification process below.
Password Verification Process: If the Mailbox password is not available, Mail Data Migrator will send a verification mail with a verification link, to the source mailbox. Clicking the link redirects to the Mail Data Migrator login screen. The user can then input the email address and a valid password at the login to pass on a valid password to Mail Data Migrator. The procedure works as follows:
-
- Verification email
- Login with valid credentials
- Verify mailbox for target server
- Mailbox credentials verified
For Exchange Mail Server
In case of migration to Exchange, Add Mailbox procedure and screens are slightly different than its counterparts. The procedure is as follows:
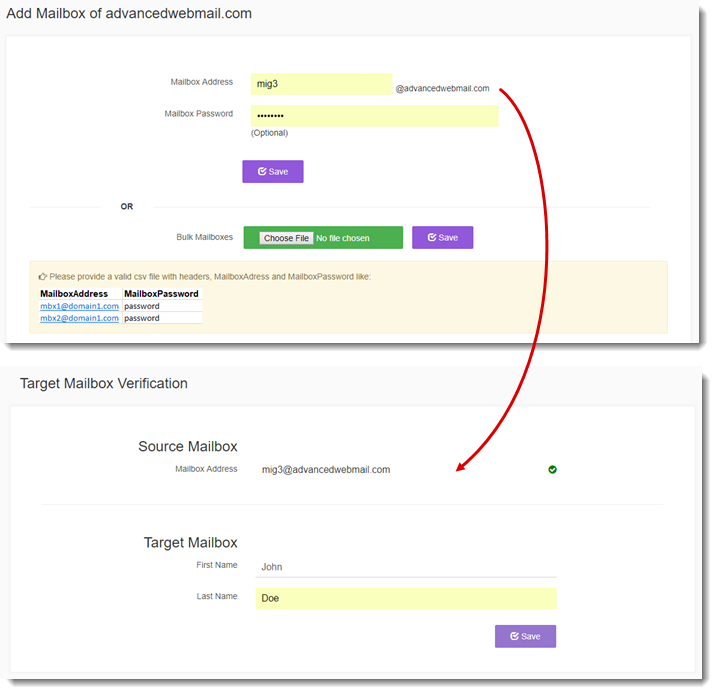
- Mailbox Address: Shows address of the mailbox.
Target Mailbox Verification: Migration to Exchange involves transfer of email data plus provisioning of new account. As a new user has to be provisioned in the Active Directory, Mail Data Migrator requires the general profile values for its First Name and Last Name to setup the user. - First Name: Type first name.
- Last Name: Type last name.